
Which makeup brushes do you actually need when your foundation looks streaky, your blush turns patchy, and every online kit seems to contain twenty nearly identical tools? Most beginners do not need a large brush collection. They need seven useful shapes, a simple order of application, and enough technique to avoid dragging makeup across the skin.
The right brush changes how much product reaches your face, where it lands, and how smoothly it blends. This guide explains the basic brush system from the ground up, shows how to use each tool, and points out the buying mistakes that waste money. The goal is a small kit that handles everyday foundation, concealer, powder, blush, bronzer, eyeshadow, brows, and eyeliner.
Why seven brushes are enough for a beginner
Brushes control product placement
Makeup brushes exist because fingers cannot always control product in the same way. A broad, dense brush spreads liquid foundation across a large area. A small, firm brush presses concealer into the corners of the nose and under the eyes. A fluffy brush lays down powder without moving the base underneath. The shape is not decoration; it determines pressure, coverage, and precision.
Beginners often buy a ten-piece or twenty-piece set before learning what each brush does. That creates two problems. Several tools perform the same job, while important shapes may be missing. A small fan brush, for example, looks useful in a photograph but rarely matters for a basic routine. A medium powder brush will serve you more often.
The seven-tool routine
The most useful starter kit contains a medium foundation brush, a small concealer brush, a fluffy powder brush, a tapered blush brush, an angled bronzer or contour brush, a soft eyeshadow blending brush, and a small angled detail brush. You can use the last brush for brows, gel eyeliner, or smudging shadow along the lash line.
Verdict: Buy seven versatile shapes, not a large set with duplicate tools. If money is tight, start with the powder, blush, foundation, blending, and angled brushes. You can apply concealer with your fingers until you add the smaller tool.
Which brush shape matches each makeup formula?
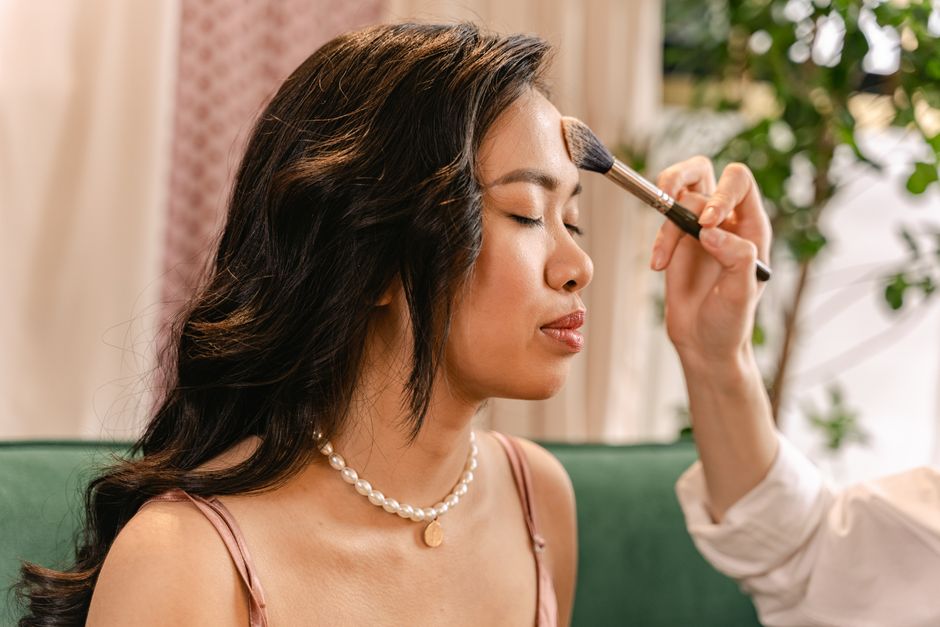
Use density for coverage and softness for diffusion
Match the brush to both the product texture and the finish you want. Dense synthetic bristles work well with liquid and cream formulas because they do not soak up as much product as very loose natural hair. Fluffy bristles spread powder over a wider area and create a lighter layer. A short, compact head gives control, while a large rounded head works quickly but offers less precision around the nose and eyes.
| Brush | Best formula | Shape to choose | Beginner use |
|---|---|---|---|
| Foundation | Liquid or cream | Flat or rounded, medium-dense head | Press and buff base makeup across cheeks, forehead, and chin |
| Concealer | Liquid, cream, or pot concealer | Small, firm rounded or flat head | Place product on spots and blend only the edges |
| Powder | Loose or pressed powder | Large, fluffy, rounded head | Set the T-zone and lightly dust the rest of the face |
| Blush | Powder or baked blush | Medium tapered or angled head | Apply color high on the cheeks and blend upward |
| Bronzer | Powder bronzer | Angled or softly rounded head | Warm the outer face with broad, light strokes |
| Eyeshadow | Powder shadow | Soft, tapered blending head | Soften the crease and remove harsh edges |
| Angled detail | Brow pomade or gel liner | Thin, slanted, firm bristles | Draw hairlike brow strokes or a narrow lash-line mark |
Do not judge quality by softness alone
A brush can feel luxurious and still apply makeup badly. Very soft bristles may lack enough structure to blend a thick cream foundation. Extremely stiff bristles can leave visible lines in liquid base products. Look for even bristle density, a handle that does not wobble, and a ferrule—the metal section joining the bristles to the handle—that feels firmly attached.
Best buying rule: choose the shape that solves your makeup problem. If your foundation looks streaky, buy a denser face brush before buying another fluffy eye brush. If blush becomes a hard stripe, choose a smaller tapered head and reduce the amount of product.
How to use foundation and concealer brushes without streaks
Foundation brush: start with thin layers
The foundation brush should cover the largest area of skin, so choose a medium head that can still reach beside the nose. Put one pump of liquid foundation on the back of your hand, then pick up a small amount with the brush. Dot it over one cheek, the side of the nose, the forehead, and the chin. Press and lightly buff from the center of the face outward. Keep the pressure gentle; heavy scrubbing lifts skincare, sunscreen, and foundation at the same time.
For a natural finish, use the flat side of the brush to spread the product and the tips of the bristles to soften the edges. Do not keep adding foundation to the whole face because one area looks uneven. Add half a pump only where redness or discoloration remains. A damp sponge can finish the job, but you do not need one to get a smooth base.
The Real Techniques 200 Expert Face Brush usually sells for about $9.99 and has a dense rounded head that suits liquid foundation. It is the best low-cost pick for someone who wants medium coverage without buying a full set.
Concealer brush: cover the center, blend the border
Place concealer directly on a blemish or under-eye shadow, then wait 20 to 30 seconds so the formula becomes slightly less slippery. Use the small brush to tap the product into place. Keep the strongest coverage in the center of the problem area and soften only the outside edge. Sweeping back and forth removes coverage and can make a spot look larger.
For under-eye concealer, use a small rounded brush and work in short taps from the inner corner toward the center. Avoid covering the entire lower eye with a thick layer. Fine lines will show more clearly when excess product settles into them. The e.l.f. Ultimate Blending Brush, priced around $7, can work as a larger concealer brush for people who prefer quick, light coverage, though it will not give the same precision as a small dedicated head.
Clear winner: a medium-dense synthetic foundation brush plus a small firm concealer brush gives beginners the best control. A giant kabuki brush may work for fast application, but it makes it harder to build coverage only where you need it.
The powder and blush pair that fixes most muddy makeup
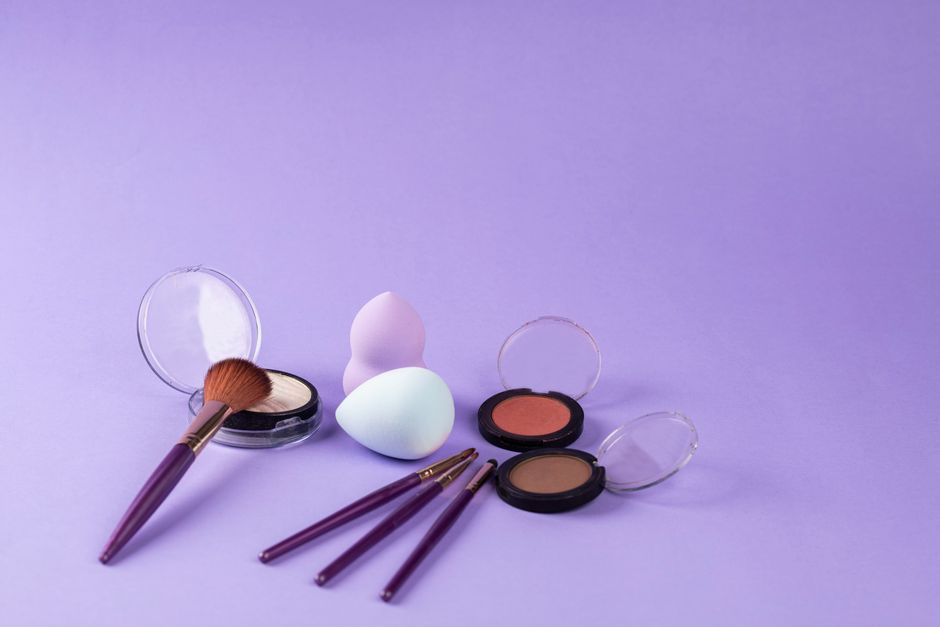
1. Set only the areas that need it
- Wait about one minute after applying foundation and concealer.
- Press a fluffy powder brush into loose or pressed powder, then tap off the excess.
- Place powder on the sides of the nose, between the eyebrows, around the mouth, and under the eyes if those areas crease or become shiny.
- Use the remaining powder on the brush to lightly touch the cheeks and forehead.
A large, soft powder brush should create a thin veil rather than a visible layer. Pressing too hard pushes powder into texture. Spinning the brush aggressively can also disturb cream blush or foundation. The EcoTools Start the Day Beautifully Kit often costs about $15 and includes useful face and eye shapes, but inspect the kit before buying: some versions include duplicate blending tools and lack a firm angled brush.
2. Place blush before you add more color
Use a medium tapered blush brush. Pick up a small amount of powder blush, tap away excess, and place the color on the fullest part of the cheek or slightly higher toward the cheekbone. Blend upward and outward, stopping before the hairline. Add a second light layer only after the first layer looks even.
My strong recommendation: beginners should buy a tapered blush brush instead of a wide flat one. The tapered shape places color in a smaller area and makes a harsh stripe easier to prevent. If the blush looks muddy, the problem is usually too much product, too low a placement, or a dirty brush carrying leftover bronzer. Clean the brush before changing from a deep berry blush to a pale pink shade.
Powder and blush also teach the most useful beginner habit: build slowly. You can add color in seconds, but removing a heavy layer often means starting the base again.
When a bronzer brush beats a contour brush
Choose bronzer for warmth, contour for shadow
Bronzer adds warmth and should sit where sunlight might touch the face: the upper forehead, tops of the cheeks, bridge of the nose, and jawline. Contour creates the appearance of depth and usually needs a cooler, more muted shade. It belongs under the cheekbone, along the sides of the nose, or near the hairline. Using a warm orange bronzer as a sharp cheek contour makes the face look dirty rather than sculpted.
For a first kit, an angled bronzer brush is more useful than a narrow contour brush because it blends a larger area and forgives uneven placement. Use a light hand and small circular motions. Keep the color close to the outer third of the face instead of dragging it toward the mouth. Stop, look at the result in daylight, and add another thin layer only if the warmth disappears completely.
Two real options and their trade-offs
The Morphe M439 Deluxe Buffer typically costs around $18. Its compact, rounded shape can blend cream bronzer and foundation, but the dense head requires a very light touch. It is a good choice for someone who wants one multitasking brush and does not mind spending extra time cleaning it.
The Sigma F80 Flat Kabuki Brush is usually about $25. Its flat top spreads liquid and cream products quickly, yet it is less forgiving for a beginner who wants a soft powder-bronzer finish. Choose the Sigma if speed and medium-to-full coverage matter most. Choose the Morphe if you want one dense brush for several cream products.
Verdict: buy a softly angled, medium-fluffy brush for everyday bronzer. Do not buy a tiny contour brush first unless you already know you prefer sharp sculpting and can blend the edges carefully.
Do beginners really need an eyeshadow and angled brush?

Q: Which eye brush matters most?
A: The soft blending brush comes first. A tapered eye brush with flexible bristles can place a transition shade in the crease, soften the border of a darker shadow, and sweep a small amount of color along the lower lash line. Start with a matte shade close to your skin tone. Move the brush through the crease in short windshield-wiper motions, then use small circles at the outer corner. Keep the brush moving; holding it in one spot creates a dark patch.
A large face brush cannot replace this tool because its head is too wide for the eye socket. A tiny pencil brush can add detail but will not soften a full crease. The Real Techniques Eye Shade + Blend set often costs about $8 to $12, and it gives beginners a basic shader and blending brush at a low price. The blending brush is the one to use most often.
Q: What can the angled brush do besides eyeliner?
A: It can handle three small jobs. Use the angled detail brush to fill sparse brows with short strokes that follow the direction of natural hair. For gel liner, rest the side of your hand on the cheek and press the brush into the upper lash line rather than drawing one long line. For a smoky look, apply a dark shadow along the lashes and soften the lower edge with the clean tip.
The brush should have a thin, sharp slant and firm bristles. A wide angled face brush will not create a clean brow tail. Clean the brush immediately after gel liner because dried product spreads unevenly the next time you use it. If you rarely wear eye makeup, this is the last of the seven brushes to purchase, but it remains more useful than a decorative fan brush.
How to wash makeup brushes and know when to replace them
Wash on a simple schedule
Wash foundation and concealer brushes once a week if you use them regularly. Clean powder, blush, bronzer, and eyeshadow brushes every one to two weeks. Wash an angled brush after each use when it touches gel liner, brow pomade, or any product that dries hard. Dirty bristles collect oil, pigment, skincare residue, and dust. That buildup changes the color and texture of your makeup.
- Run the bristles under lukewarm water with the handle pointing upward.
- Work a small amount of gentle soap into the bristles, keeping water away from the ferrule.
- Rinse until the water runs clear and the brush feels free of slippery residue.
- Press out moisture with a clean towel and reshape the head.
- Lay the brush flat with the bristles extending beyond the edge of a counter.
Replace brushes when the structure fails
Do not replace a brush only because it has an older date. Replace it when the bristles shed heavily, the shape stays bent, the ferrule loosens, or the brush still feels greasy after washing. A rough brush can irritate sensitive skin and make foundation sit unevenly. A loose handle also makes precise brow or eyeliner work harder.
Never dry brushes upright with water dripping toward the handle. Moisture can weaken the glue inside the ferrule. Never share eye brushes during an active eye infection, and wash them before using them again. Clean tools protect the finish of your makeup and reduce the need to keep buying replacements.
Final verdict: a beginner needs seven shapes, not seven complicated techniques. Learn light pressure, thin layers, upward blending, and regular washing, and an inexpensive kit can handle a polished everyday face.